If the dog walk builds balance and the teeter builds trust, the A-frame builds confidence and power.
The A-frame is one of the most exciting agility obstacles. Dogs climb up one side and descend the other, using strength, coordination, and control. For Australian Shepherds, it’s a natural fit—they love the movement and the challenge.
Why the A-Frame Matters
The A-frame develops:
- Strength and coordination
- Confidence at height
- Controlled movement
- Contact zone awareness
It teaches your dog to move with both power and precision.
What Is the A-Frame?
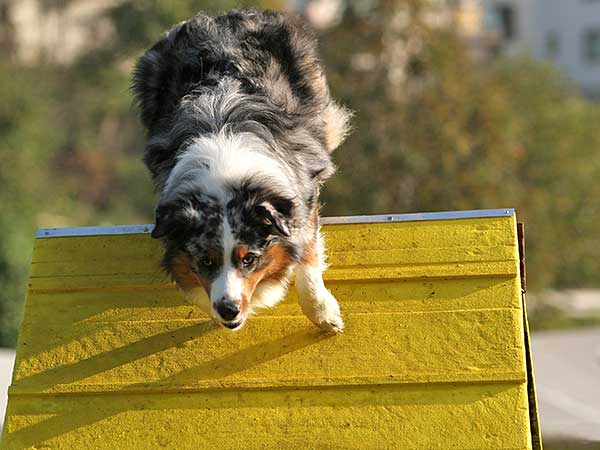
The A-frame is a large, angled obstacle made of two ramps forming a triangle.
Your dog:
- Runs up one side
- Crosses the top
- Walks or runs down the other side
- Hits the contact zone at the bottom
What You Can Use at Home
You don’t need a full A-frame to start:
- A low ramp or incline board
- A sturdy angled surface
- A gradual hill for early confidence
Start low and build up—confidence comes first.
Understanding Contact Zones
Contact obstacles—like the teeter, dog walk, and A-frame—include designated contact zones at both the beginning and end of the obstacle. These areas are typically painted yellow and are designed to encourage safe, controlled movement.
Your dog should enter through the yellow contact zone at the start, travel across the obstacle with focus, and exit by reaching the yellow contact zone at the bottom. This means your dog isn’t jumping on or off randomly—they are moving with intention from start to finish.
Ideally, your dog will:
- Step onto the obstacle through the yellow zone
- Maintain control across the entire surface
- Place at least one paw (preferably front paws) in the yellow zone at the bottom before exiting
This creates a consistent and safe pattern:
👉 yellow on → across → yellow off → release
Training both entry and exit contact zones helps prevent injuries, improves body awareness, and keeps your dog focused on you instead of rushing ahead to the next obstacle.
Step-by-Step: Teaching the A-Frame
Step 1: Start with a Low Incline

Introduce the movement.
- Use a low ramp or incline
- Let your dog walk up and down
- Reward confidence
Step 2: Build Confidence Going Up

Focus on upward movement.
- Encourage steady climbing
- Keep your dog controlled
- Reward effort
Step 3: Introduce the Full Shape

Add the full obstacle.
- Keep the height low at first
- Guide your dog across
- Reward calm movement
Step 4: Build Controlled Descent

Slow things down on the way down.
- Encourage steady steps
- Avoid rushing
- Reward control
Step 5: Reinforce the Contact Zone

Focus on the finish.
- Reward reaching the yellow zone
- Reinforce staying on until the bottom
- Build consistency
Step 6: Build Confidence and Flow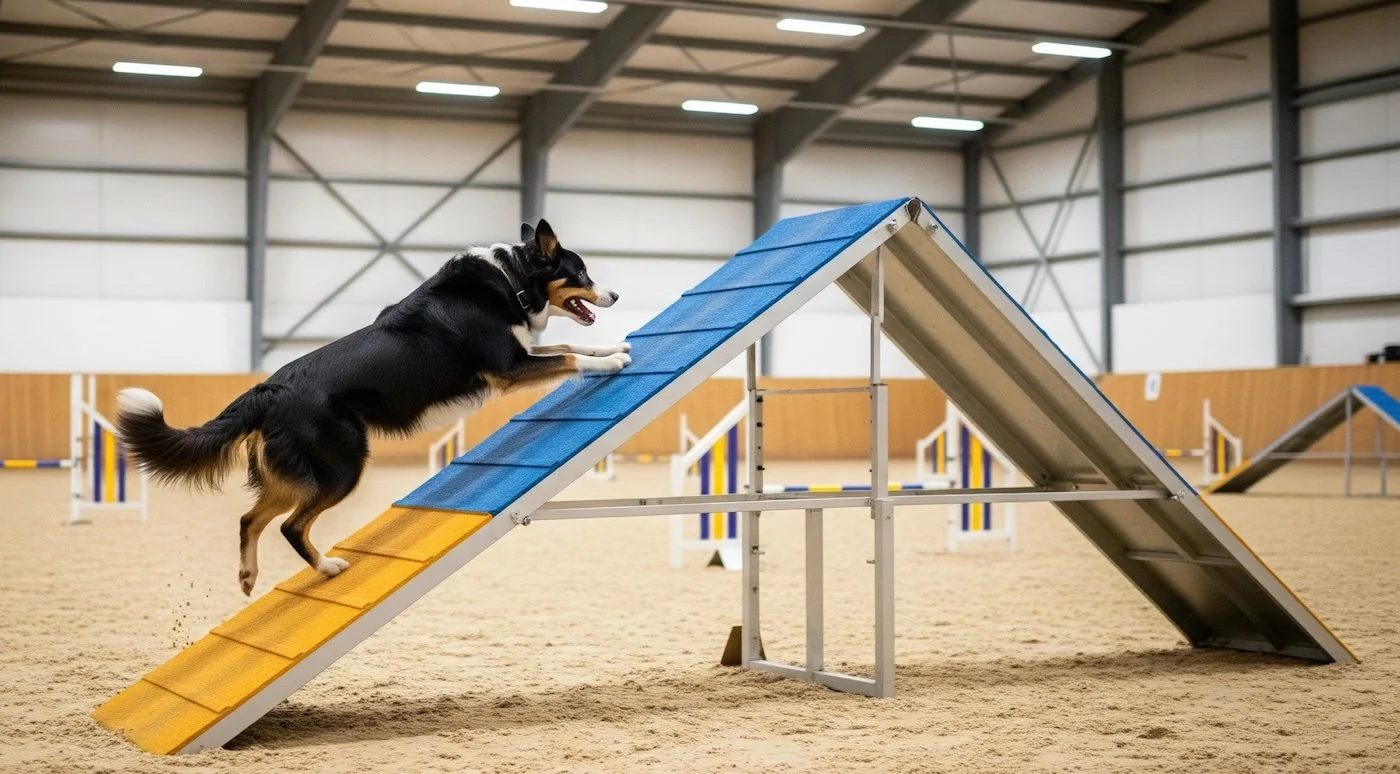
Put it all together.
- Increase confidence and speed naturally
- Reduce guidance
- Add to sequences
Tips for Success
Focus on control over speed
Fast comes later.
Keep sessions short
This is physically demanding.
Use safe surfaces
Non-slip footing is essential.
Build gradually
Confidence always comes first.
Common Mistakes to Avoid
Starting too high too soon
This can create fear.
Encouraging jumping off early
Always reinforce contact behavior.
Letting dogs rush downhill
Control is key on descent.
Why Aussies Excel at the A-Frame
Australian Shepherds bring:
- Strength
- Athleticism
- Confidence
- Drive
They naturally enjoy climbing and movement, making this a favorite obstacle.
Final Thoughts
The A-frame combines everything your dog has learned.
Confidence.
Control.
Connection.
It’s powerful, exciting, and incredibly rewarding to train.
And when your Aussie confidently runs up, over, and down with control—you’ll see just how capable they really are.
🐾 Related Reading
Building Confidence in Your Dog
Rules, Boundaries, and Limitations
Dog Barking: Practical Tips for Dog Owners
Understanding Your Dog’s Body Language
Understanding Puppy Exercise
The Power of Clicker Training
🐾 Ready to Find Your Match?
If you’re considering an Australian Shepherd puppy and want guidance through the process:
👉 Learn more here:
How to Get My Puppy
👉 View current puppies:
Available Puppies