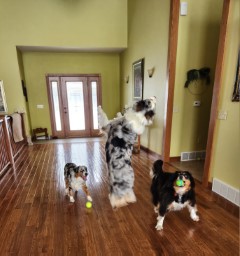
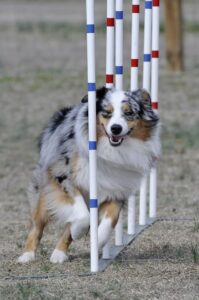
If weave poles build precision, the teeter totter builds confidence and trust.
The teeter is one of the most challenging agility obstacles because it moves, makes noise, and shifts under your dog’s weight. For many dogs, that’s a lot to process.
But when trained correctly, it becomes one of the most rewarding skills your dog can master.
Why the Teeter Totter Matters
The teeter teaches:
- Confidence on unstable surfaces
- Body awareness and balance
- Trust in movement and sound
- Focus under pressure
This is where your dog learns to stay calm—even when things feel uncertain.
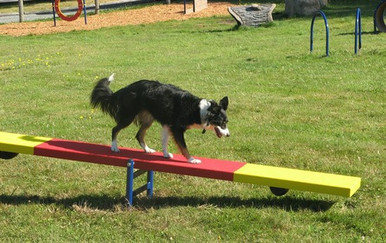
What Is the Teeter Totter?
The teeter totter (or seesaw) is a narrow board that pivots in the middle.
As your dog walks across:
- The board tips downward
- It makes a noise when it touches the ground
- Your dog must stay balanced and controlled
This combination makes it a more advanced obstacle.
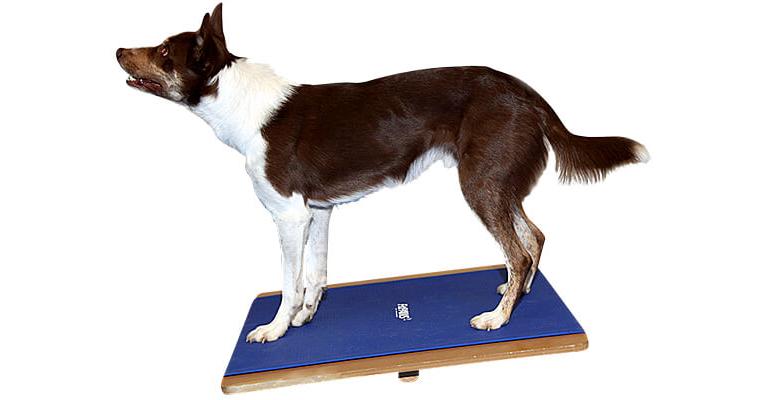
What You Can Use at Home
You don’t need official equipment to begin:
- A wide, low board for introduction
- A secure pivot point (only once ready)
- A slightly elevated plank to mimic movement
Start without movement—confidence comes first.
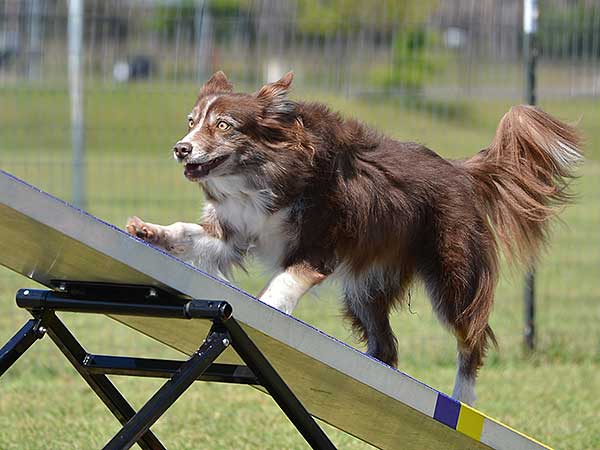
Understanding Contact Zones
Contact obstacles—like the teeter, dog walk, and A-frame—include designated contact zones at both the beginning and end of the obstacle. These areas are typically painted yellow and are designed to encourage safe, controlled movement.
Your dog should enter through the yellow contact zone at the start, travel across the obstacle with focus, and exit by reaching the yellow contact zone at the bottom. This means your dog isn’t jumping on or off randomly—they are moving with intention from start to finish.
Ideally, your dog will:
- Step onto the obstacle through the yellow zone
- Maintain control across the entire surface
- Place at least one paw (preferably front paws) in the yellow zone at the bottom before exiting
This creates a consistent and safe pattern:
👉 yellow on → across → yellow off → release
Training both entry and exit contact zones helps prevent injuries, improves body awareness, and keeps your dog focused on you instead of rushing ahead to the next obstacle.
Step-by-Step: Teaching the Teeter Totter
Step 1: Introduce a Stable Board
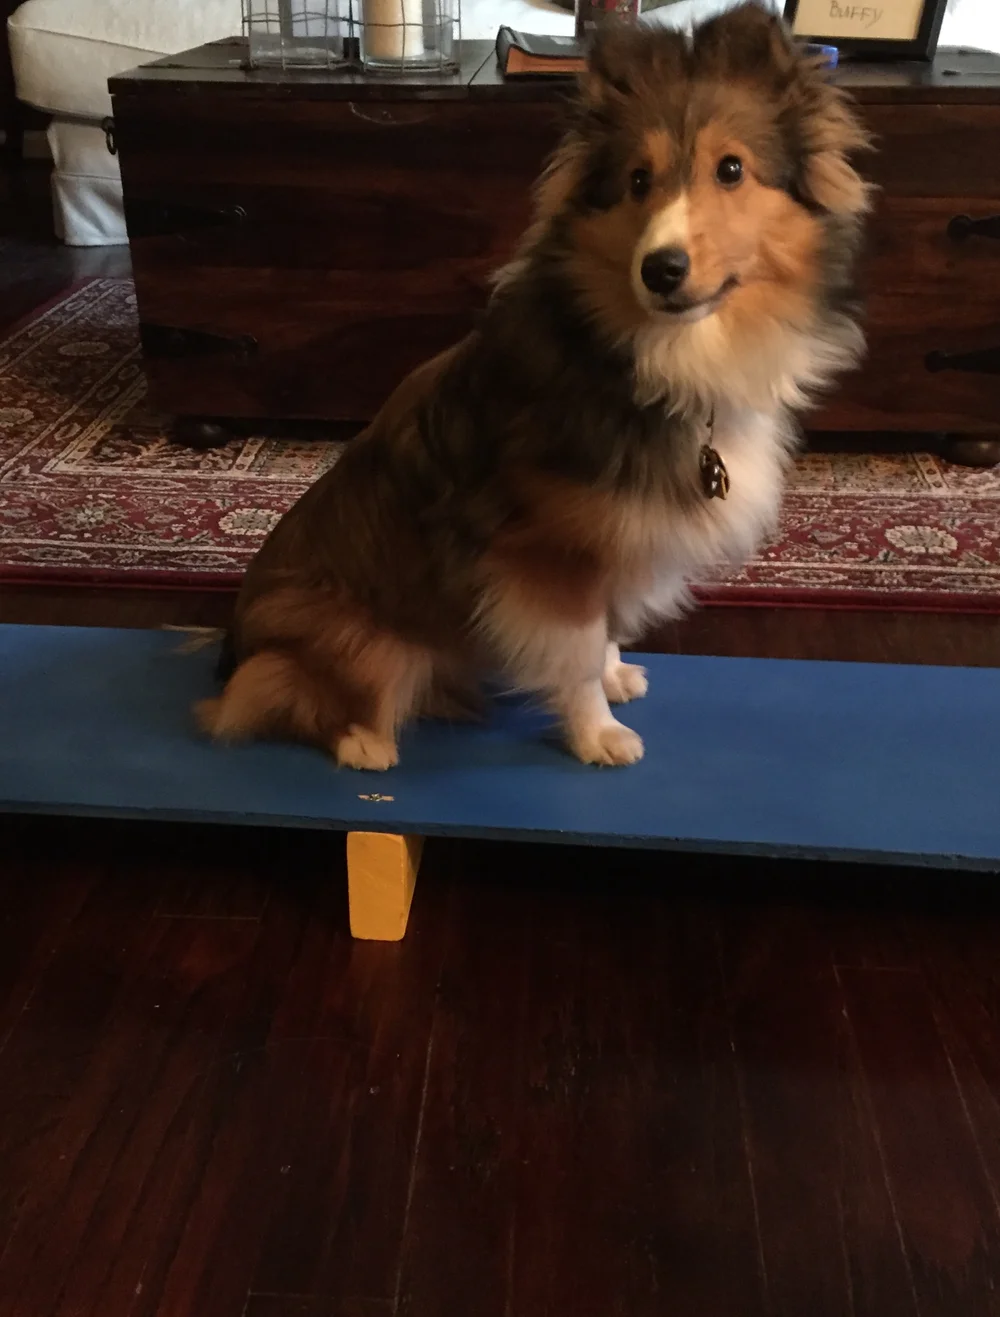
Start with no movement.
- Place a board flat on the ground
- Let your dog walk across
- Reward calm, confident steps
Step 2: Build Comfort with Height
Add a small elevation.
- Raise the board slightly
- Keep it stable
- Build confidence with height
Step 3: Introduce Gentle Movement
Add controlled motion.
- Support the board so it moves slowly
- Let your dog feel the shift
- Keep everything calm and positive
Step 4: Teach Controlled Movement to the End

Guide your dog forward.
- Encourage them to walk all the way to the end
- Reward commitment and forward motion
- Avoid rushing
Step 5: Introduce the Tip and Sound
Let the board tip.
- Allow the end to touch the ground
- Keep it gentle at first
- Reward calm reactions to the sound
Step 6: Build Independence and Confidence
Put it all together.
- Let your dog complete the obstacle independently
- Reduce support
- Build confidence and consistency
Tips for Success
Go slow
This obstacle requires trust—don’t rush it.
Reward bravery
Confidence matters more than speed.
Stay calm and supportive
Your energy sets the tone.
Keep it safe
Always use stable, non-slip surfaces.
Common Mistakes to Avoid
Introducing movement too early
Build confidence first.
Letting the board slam down
This can scare your dog and set training back.
Rushing independence
Support should fade gradually.
Why Aussies Can Master the Teeter
Australian Shepherds have:
- Strong body awareness
- Intelligence
- A desire to work with you
Once they trust the obstacle, they excel.
Final Thoughts
The teeter totter isn’t just about balance—it’s about trust.
Trust in the obstacle.
Trust in the movement.
And most importantly—trust in you.
Take your time, build confidence step by step, and you’ll create a dog that can handle anything with calm focus.
🐾 Related Reading
Australian Shepherd Breed Guide: What You Need to Know
10 Things to Know Before Getting an Australian Shepherd Puppy
Building Confidence in Your Dog
Understanding Puppy Exercise
Handling Puppy Fear
🐾 Ready to Find Your Match?
If you’re considering an Australian Shepherd puppy and want guidance through the process:
👉 Learn more here:
How to Get My Puppy
👉 View current puppies:
Available Puppies